So, you decided to make the leap and you bought your first DSLR camera. Now what? All those buttons and settings can be overwhelming, so where do you start?
I’ve been there, too. I bought my first camera about 3 years ago, and I’ve learned a lot since then.
Here’s a list of the tips I wish I knew when I was just starting out!
This post may contain affiliate links. We may earn compensation when you click on the links in this post at no cost to you. For more information, see our terms and conditions. All opinions are my own.
1. Learn manual mode
Pretty much every article you read about learning photography is going to say “learn manual mode.” That’s because you really can’t produce your best work unless you know how to operate your camera.
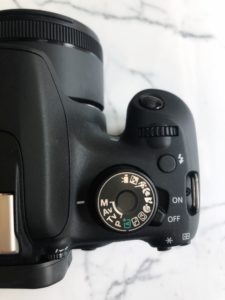
I know it’s kind of scary when people start throwing out words like “aperture” and “shutter speed”, but it’s really not as bad as it sounds!
There are tons of articles and classes out there (free or paid!) that can show you how it all works. Trust me when I say it will be much easier to capture your vision if you know how to shoot manually!
2. Don’t spend a ton of money
When you are just starting out with your new camera, you really only need a decent camera body, a lens, and a memory card.
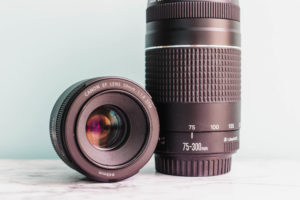
Most cameras come with a starter lens, or kit lens. These are good for beginners. They don’t have as high quality as more expensive lenses, but you shouldn’t have any problem getting great images.
Later on, most of your money should go towards a lens, not a camera body. Cameras will always be changing and upgrading to the latest technology, but lenses stay pretty much the same.
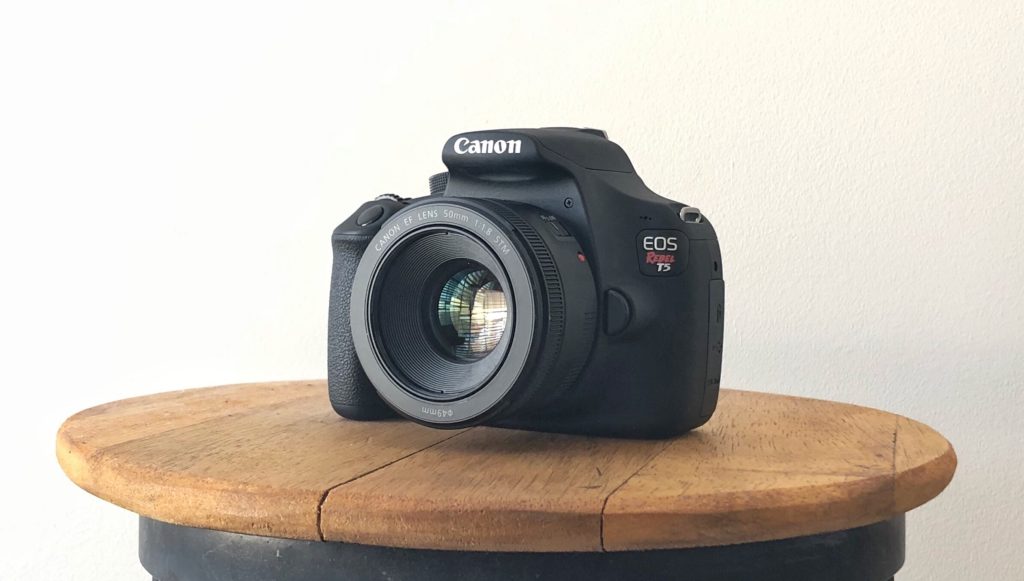
My first DSLR camera was the Canon Rebel T5, which came with an 18-55mm and a 75-300 mm lens. I still have the same camera body, and I recommend it to beginners. However, Canon has released the Rebel T6 and T7 since then. I also recommend that your first lens upgrade be the 50 mm f1.8. It has great quality for a low cost.
Check out my photography gear for recommendations on lens and accessories!
3. Shoot in RAW
When I was beginning to study photography and shoot with my DSLR, everyone was saying, “Shoot RAW! Don’t use JPG!” So what does that even mean?
RAW and JPG are how your camera stores images. Basically what you need to know without going into technical jargon: RAW is better!
RAW takes up more space on your memory card, but that’s because the image has much more data in the lightest and darkest parts of your photo. This way, when you are editing, you can salvage a photo that is too dark or too light. It’s a lifesaver!
4. Invest in a decent tripod
You don’t have to spend big bucks to get a basic tripod. I use a tripod whenever I want to reduce camera shake.
Tripods are especially helpful in low light situations. You can decrease your shutter speed to less than is possible while handholding your DSLR to let more light in.
The tripods I use are listed here.
5. Don’t use on-camera flash
Just don’t do it. Whether you are using a DSLR camera or smartphone, on-camera flash almost always looks bad. Honestly, you should only use flash if you know how to make it look like you’re not using flash. If you are forced to shoot in low light, you can either:
- Use a tripod – This will allow you to decrease your shutter speed without increasing camera shake.
- Use an OCF (off-camera flash) – This makes your flash look like another light source. Lots of studio photographers use these.
- Bounce light off a wall/ceiling or diffuse your on-camera flash – This gives a similar effect to OCF. If the light doesn’t look like it’s coming from the camera, it looks more natural.
- Find another light source – If all else fails, shoot somewhere else! (Preferably somewhere with more light!)
Bottom line: Try to figure out how to light the scene without flash, especially as a beginner.
6. Edit your photos
Everyone edits their photos, even professionals. Especially professionals. Pretty much nobody takes a picture with their camera and it looks absolutely perfect with no editing. Yes, some photographers take really great photos right out of the camera, but even then, editing can make it look even better.
I always edit with Lightroom. Unless you already know your way around photoshop, I wouldn’t recommend it. Photoshop has some really great tools from basic editing all the way up to photo manipulation, but you really don’t need all that right away. I personally only use photoshop to take out eyesores in the background of my photos.
You can see in the photos below the results of editing. I took this photo of my sister for her senior portraits.
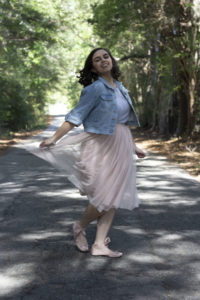
The first photo is unedited. It’s pretty dark, and the spotty light is distracting.
The second photo was edited in Lightroom, and you can see a dramatic difference. I adjusted the lighting and also softened the green of the trees to give a light and airy look.
It’s also worth noting that this photo was shot in RAW. This helped me brighten up the shadowy parts of the photo without overexposing the highlights.
Lightroom is where you need to be. It is very easy to navigate, and it has everything you need to edit your lighting and colors.
Also, plenty of photographers use and create presets for Lightroom to make editing that much faster. I offer a completely free preset for the Lightroom Mobile app in my resource library. Just join my email list for access!
7. Practice
The best way to get better at anything is to practice, practice, practice! Don’t be lazy about it! Get out there and take pictures as often as you can. You will thank yourself later.
Photography, whether you are using a DSLR camera or not, is not something you can master in one day. The more you practice, the easier it will become to capture the photo you want to see.
I hope you’ve found these tips helpful! Know any other tips for beginning photographers that I didn’t mention? Leave them in the comments!
And don’t forget to join my email list to be notified whenever there is more photography content added to the blog. You’ll also get access to the resource library which includes travel, blogging, and photography freebies (and the free Everyday Lightroom preset!).
Check out these other blog posts for more photography tips:
The Best Time of Day to Take Photos
How to Take Better Food Photos When You Travel
Take Better Photos with Any Camera: Composition
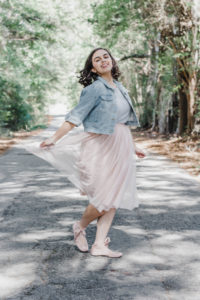
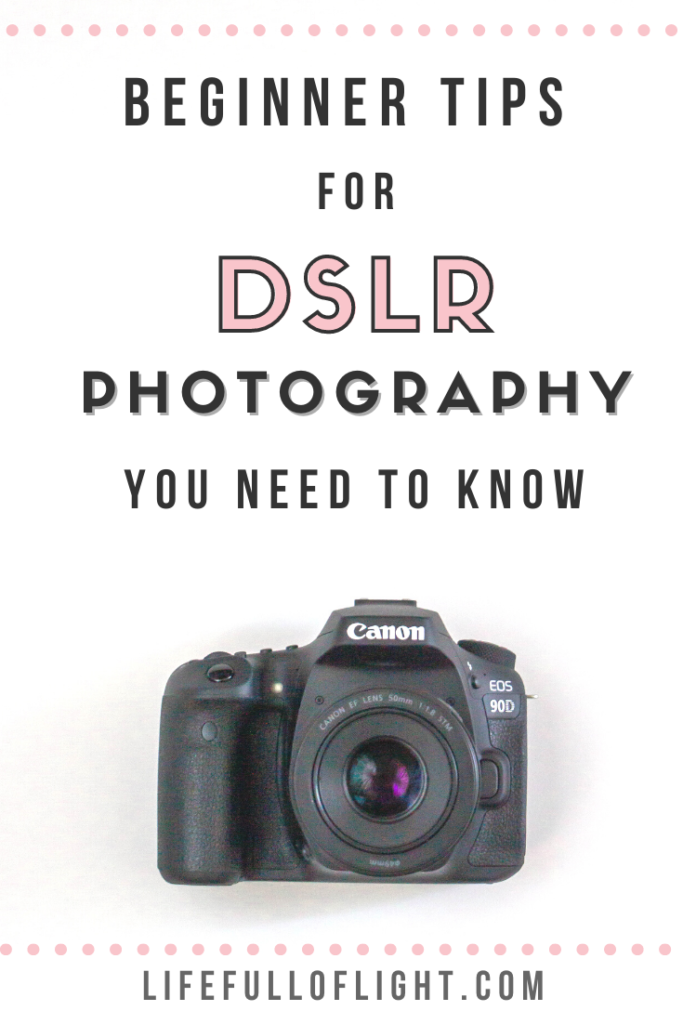
Pin this post for later!
Pingback: My Photography Gear: What's in my Camera Bag - Life Full of Light
Pingback: Photography Tips for Shooting in Less Than Ideal Conditions - Life Full of Light
Pingback: The Best Advanced Tips for iPhone Photography - Life Full of Light
DSLR photography is very interesting thing to learn if you are a passionate photographer. There are many hidden tips to know before a DSLR camera and starting up a business. Good and informative post for beginners. Thanks for sharing.
I have an Canon EOS r right now that I am having trouble getting crisp clear shots. Any recommendations on settings for shooting family outdoor pictures
I have tried several different lenses
If you’re shooting outdoor photos, I’m assuming you have plenty of natural light. Using a faster shutter speed (1/1000 instead of 1/100 for example) can help your shots be less blurry. But you may have to shoot with a wider aperture or higher ISO to compensate for the lower light levels.