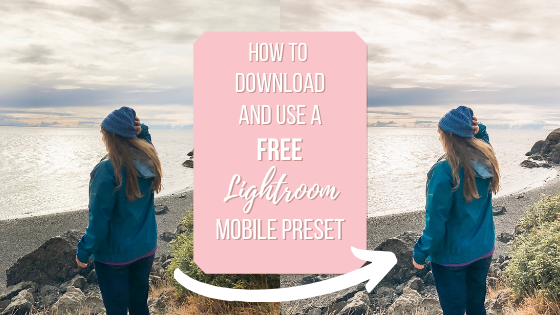
If editing your photos as quickly and beautifully as possible is something you’re interested in, Adobe Lightroom presets are the way to go. Save yourself the time of figuring out how to edit and tweak every single image, and use a preset that has the settings you like already plugged in for you!
You can download a free or paid preset from your favorite creator in a few simple steps.
In this guide, I’ll be using my free Everyday Preset as an example. I’ll try my best to keep the techy stuff to a minimum. Don’t worry, it’s not as hard as it sounds!
Step 1: Download the Lightroom Mobile App
This free app is available for iPhone and Android. I personally use an iPhone. You can upgrade to the premium version of Lightroom to get access to all the features as well as the desktop version, but the free version will still allow you to use the presets.
Step 2: Download the Preset
Using the example of my free Everyday preset, you’ll need to sign up here to get access to the completely free resource library and download the preset.
Once you’re inside the resource library, click the download button below the preset photo, and download the preset file (which is a compressed file).
Step 3: Unzip the Preset
If you’re using an iPhone you can unzip the file in your Files app. Just open Files and tap the Everyday-preset.dng.zip.
If you’re using an Android you can unzip the file by opening Files by Google. Tap browse, select the Everyday-preset.dng.zip, and tap extract.
You can also unzip the preset on your desktop and then transfer the file to your phone.
Step 4: Open the Preset in Lightroom Mobile
Open the Lightroom Mobile app and sign in if necessary.
Click on the (…) option in the top right corner and choose Add Photos. Select “From Files”.
You should see the unzipped Everyday Preset (if you don’t see it immediately, try going out and back in again).
Select this file and it will import into Lightroom. The file is actually an image, and it will be a DNG file with a text overlay that says Everyday Preset for Lightroom Mobile.
Step 5: Make the Preset Usable
Open the DNG image you just downloaded by tapping it.
Choose the (…) option in the top right corner.
Select Create Preset. This will allow you to make a usable preset with the settings from the Everyday Preset.
Name the preset. It can be whatever you want, but I suggest naming it the same as whatever preset you’ve downloaded (e.g. Everyday Preset).
Make sure all the boxes are selected and tap the checkmark in the top right corner. You will now be able to use your new preset!
Okay, so that’s how you download a Lightroom Mobile preset, but how do you use it?
To apply the preset, open the image of your choice. Scroll through the tools on the bottom of the screen to the right until you see Presets and select Everyday Preset.
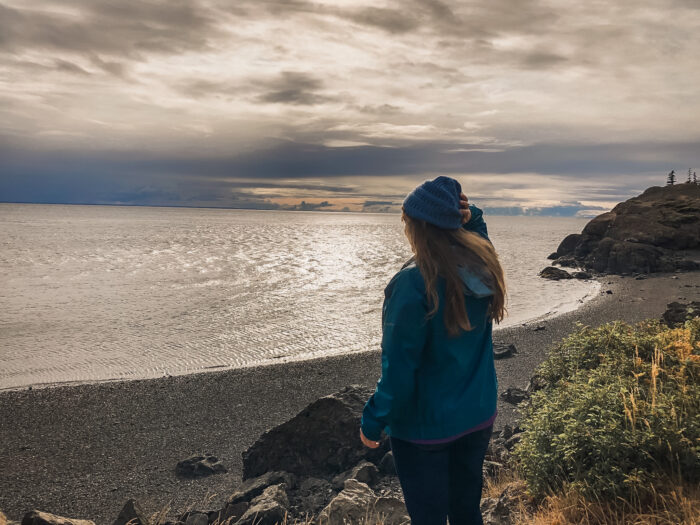
Most presets are designed to transform your images in one click, but it’s very common to tweak the edit a bit after applying the preset. Here are some examples.
Temperature
The temperature of an image indicates how warm or cool your image is. In other words, a cool image has a more bluish tint while a warm image is more yellowy.
This can be fixed by sliding the temperature setting left or right in the “color” options.

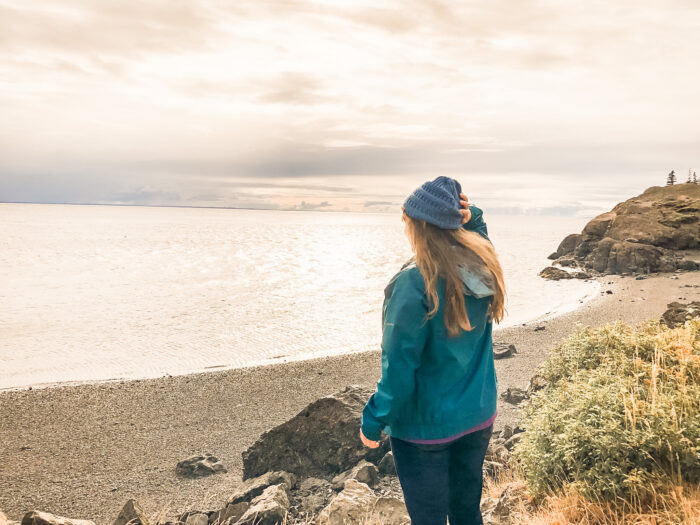
There is no right or wrong temperature for your image, but most photographers go for a happy medium where the photo has a natural look.
Brightness
The brightness of an image is affected by several different settings in editing. Usually, exposure is the setting that increases or decreases brightness most drastically.
If your photo is very bright or dark before applying a preset, one-click editing may not be possible. However, after applying the preset, you should be able to adjust the exposure to brighten or darken the photo as you see fit.

You can also adjust the highlights, shadows, whites, and blacks to increase or decrease overall brightness. Once again, there’s no one way to edit an image. Make it your own and play around with the settings until you’re happy with the final result!
I want to stress that brightness and temperature are only two of the many elements involved in editing a photo. That’s the whole point of downloading a preset in the first place: to save you from having to finetune your tone curve, color grading, and a dozen other things that took me months to learn how to use properly.
That’s why I created the Everyday preset: so you can use my editing knowledge without having to spend so much time figuring out the details of editing. And so you can create more beautiful photos quicker than ever!
Want to get started editing with presets? Download your free Everyday Preset by joining my email list here!
Recommended:
The Best iPhone Photography Tips for Beginners
The Best Advanced iPhone Photography Tips
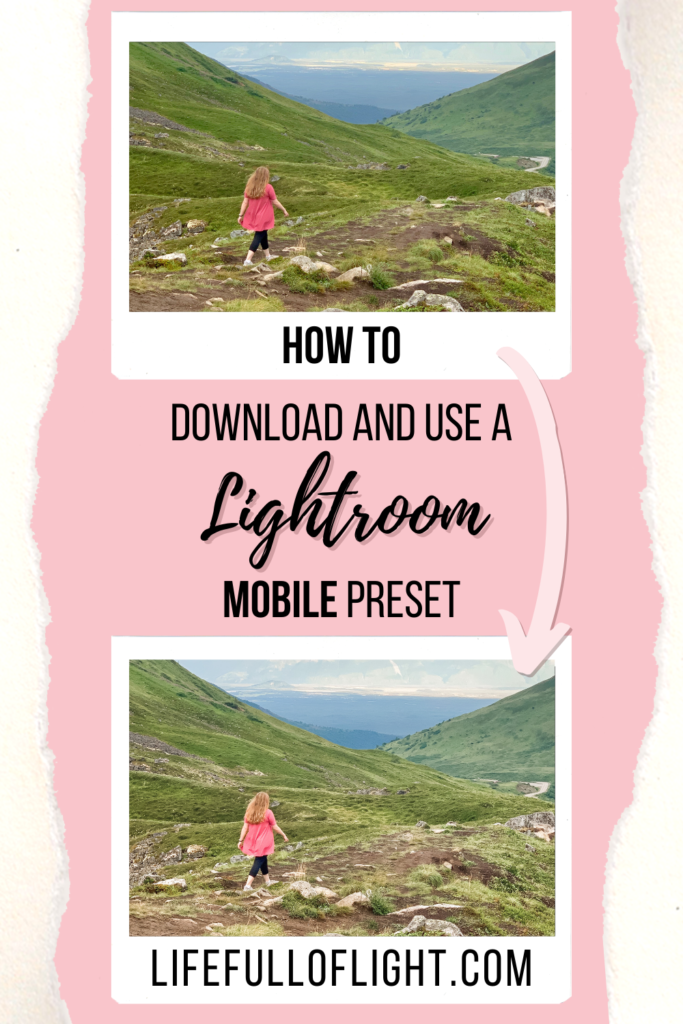
Pin this guide to save for later!
Hi
To be honest your article is informative and very helpful. After i saw your site and i read it and it help me a lot. Thanks for share your kind information.