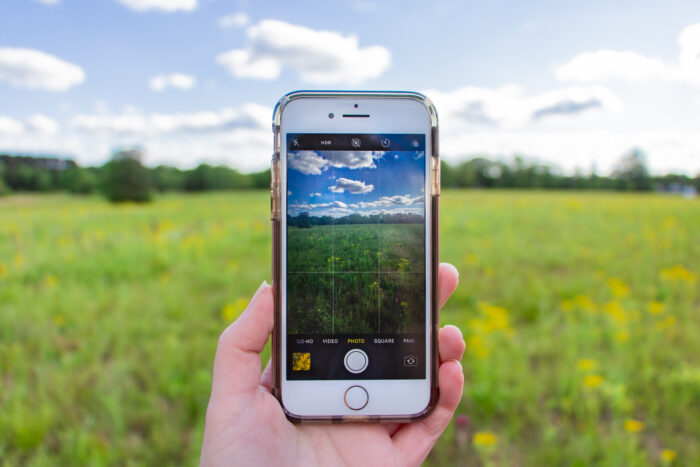
They say the best camera is the one you have with you. Since so many people have smartphones these days, phone companies are continually upgrading their products to have better and more advanced cameras. The iPhone is known worldwide for producing beautiful images. However, it’s important to know that it’s not the camera that makes a good photo, it’s the person behind the camera.
You have the ability to create amazing photographs even without a fancy camera. All you need is an iPhone and these simple tips to improve your iPhone photography.
Here are the best iPhone photography tips for beginners!
1. Swipe Sideways for Easy Access
You don’t want to miss the chance to take a great photo because you don’t have your camera ready. Once a moment is gone, it’s gone. Don’t miss another opportunity, and learn to access your camera app as quickly as possible. After you press the home button, you can swipe sideways (from right to left) to instantly have your camera ready.
You can also swipe up after pressing the home button and click the camera app, or you can hold the camera app button to bring up more options such as “record a video” or “take a selfie”.
2. Snap Photos with the Volume Buttons
Sometimes if you are taking a group selfie or you’re in another awkward position, pressing the shutter button to capture your image can be difficult. Snap a picture by pressing the volume buttons on the side of your iPhone.
Another great option is to use the wired headphones that come with your phone. These have a volume button on the cord which you can press to take a photo. This is great for using when you want to avoid camera shake.
3. Use Your Apple Watch
Your Apple Watch has the ability to act as a viewfinder for your iPhone camera. On the watch screen, you can see the photo your iPhone will take in real-time as well as hit the shutter button and adjust your settings. The Apple Watch is also a great option for using as a remote shutter if you have a tripod.
4. Portrait Mode
Portrait mode is an option on some iPhones such as 7 plus, 8 plus, and later models. This mode imitates what you can do with a DSLR camera. It creates a kind of “bokeh,” or background blur, similar to what you see in professional photographs. Portrait mode is smart enough to focus on your subject (what you’re taking a photo of) and blurs out the background automatically. You can even choose how blurry you want the background to be.
It can be tricky to get the iPhone camera to recognize exactly what you want to be blurry, but with a little practice, you can get your iPhone photos to look very professional using Portrait mode.
5. Straighten Your Horizon
This may seem like a minor thing, but keeping your horizon level in-camera is very important, especially for landscapes. Even if the horizon is slightly tilted, it can make the entire photo look off. Try to notice if the horizon is straight when you’re practicing photography, and soon it will become second nature to you to straighten it while taking the photo.

6. Don’t Use Your Flash
Using the flash when taking photos with your iPhone can wash out your subject. The bright light shining directly onto your subject is very harsh, usually producing an unflattering photo. Instead, try to find another light source.
Natural light is best!
If you want to know more about using natural light to get amazing photos, check out this blog post: The Best Time of Day to Take Photos
7. Don’t Zoom In
When your subject is far away from you, it’s tempting to just zoom in to get a better image, but this is NOT a good idea. Zooming in with the iPhone camera will only crop your photo and decrease the quality. Instead, move closer to your subject if possible.
8. Live Photos
To be sure you’re getting a good shot, especially of a moving subject, Live Photos are a great way to capture memories. When you take a Live Photo, your iPhone captures 1.5 seconds before and after you push the shutter button. However, these take up about twice as much space as a normal photo.
If you take a Live Photo and want to switch it to a normal photo to save storage space, you can hit share in the lower left-hand corner -> duplicate -> duplicate as still. If you do this you’ll need to select the key photo which you can do by hitting edit and then clicking the live symbol in the lower left-hand corner.

9. Clean Your Lens
This one may seem obvious, but fingerprints and smudges on your lens can make a big difference. Clean off your lens to get sharper photos.
10. Use the Rear-Facing Camera
The front-facing camera is designed for selfies, and it’s a very convenient option. However, you should use the rear-facing camera whenever possible (even for selfies!). The rear-facing camera has a higher resolution, giving you better and sharper photos.
11. Shoot Square to Frame Your Image
If you know you want to post a photo to Instagram, go ahead and take the photo using square mode. The reason is that it’s much easier to compose your shot using the frame that you’ll be using vs. cropping and trying to recompose later.

I always recommend taking more photos than you need, so it’s a good idea to go ahead and take plenty of photos in vertical, horizontal, and square format. This way you’ll have a number of options if you decide you don’t like one of the compositions or if you want to post a larger photo somewhere besides Instagram.
12. Always Edit Your Photos
Editing your photos is almost as important as how you take a photo. Adjust settings such as brightness, white balance, saturation, and more to make your images look more professional.
I won’t get into editing much in this post, because there is so much you can do. Just play around with the settings and see what style you like. Even using prebuilt filters such as Lightroom presets can completely change the way your image looks.
The more you practice editing photos, the more you develop your own style. I personally prefer my photos to be bright and clean, with a bit of color, but not too much saturation.
Editing photos with the built-in photo app on your iPhone works well for a quick edit, but its capabilities are limited. Some third-party editing apps give you a much wider range of options.
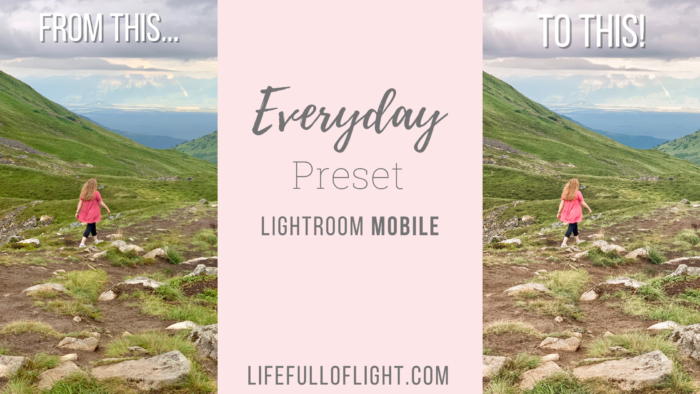
My favorite app for editing is Adobe Lightroom. Even the free version has some great editing tools, including the ability to use Lightroom presets.
A preset is a one-click filter that will save you tons of time editing. I offer a completely free Everyday preset in my resource library. Just join my email list for access!
13. Hold Your Phone Correctly
It’s a bad habit to tilt your phone down towards your subject when taking a photo, especially if it’s a picture of kids or pets. Holding your phone parallel to the wall (at a 90-degree angle to the floor) will make your lines look straighter and will eliminate any distortion.
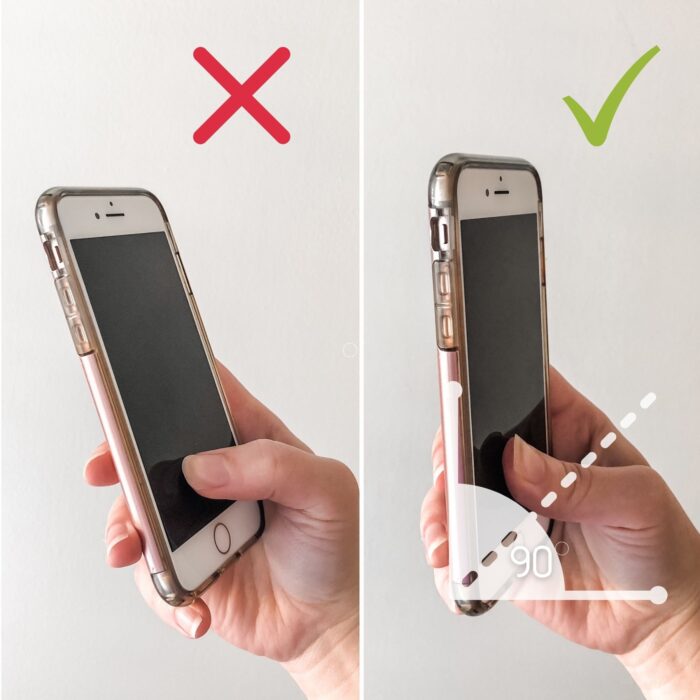
In addition, if you’re taking a photo of something close to the ground, instead of tilting your phone, get lower and get on eye level with your subject. This gives a better perspective and makes a more interesting composition.
To learn more easy tips for photography composition, read this blog post: Take Better Photos with any Camera: Composition
It’s great to have a fancy camera when taking photos, but it’s possible to take awesome photos with just your iPhone. I hope you found some useful tips in this list! Check out the photography section of my blog for tons of other tips for taking photos with any kind of phone or camera!
Don’t forget to subscribe to the Life Full of Light email list to get access to the resource library include travel, blogging, and photography freebies (including the Everyday preset)!
Recommended:
How to Take Better Food Photos When You Travel
My Photography Gear: What’s in my Camera Bag
Tips for When to Use Black and White Photography
Pingback: The Best Advanced Tips for iPhone Photography - Life Full of Light
Photography makes our creative photos so we should have knowledge about good photography and after read this blog, I like these tricks on Photography. I appreciate your work !
Thank you so much Maria!
Pingback: How to Download and Use a Free Lightroom Mobile Preset - Life Full of Light